
The Core Loop
Read the order
Record the target, required ammunition, and any special restrictions from headquarters.
Measure
Draw from the turret position to the target on the map and record both range and bearing.
Calculate
Enter the exact range and choose a propellant count to obtain barrel elevation.
Load
Select the ordered shell, ram it, add the calculated propellant bags, and close the breech.
Aim
Set the shared turret bearing and the selected barrel's elevation.
Fire and review
Select the gun, fire, then use reports or reconnaissance photographs to confirm impact.
Measuring Range and Bearing
The map is the source of both aiming axes. Find the confirmed turret position first, then the target coordinate supplied by headquarters, observers, or reconnaissance.
- Place the cursor on the turret's exact map position.
- Hold the primary mouse button and drag to the target.
- Release only after the arrow reaches the intended coordinate.
- Write down the displayed range and bearing.
The most expensive beginner error is measuring from a convenient landmark instead of the actual firing origin. The calculator cannot detect this mistake; it will produce a perfectly consistent angle for the wrong line.
Using the Ballistic Calculator
The ballistic calculator converts range and propellant choice into barrel elevation. It does not need the turret bearing.
- Enter the measured range exactly, including any decimal value.
- Select a number of propellant bags.
- Start with the first charge count the calculator accepts for that distance.
- Turn the calculation crank.
- Record the resulting elevation before leaving the station.
More propellant does not simply make a shot “better.” It changes the trajectory and therefore changes the elevation required for the same target. Treat charge count and elevation as one matched pair.
Loading Ammunition
The left and right racks carry multiple shell types. Each gun can hold a different shell, so verify which side you are preparing.
- Use the ammunition selector to bring the required shell into position.
- Operate the loading mechanism and wait for the shell to be rammed.
- Add the exact number of propellant bags chosen at the calculator.
- Ram the charge and confirm the loading animation has finished.
- Make sure the breech is closed and the barrel controls are unlocked.
Adjusting Turret Bearing
The turret's fast handle makes large turns; the fine wheel is for the last fraction of a degree. Set the shared turret bearing to the map value, not the calculator result.
Use the fast control until the indicator is close, then finish with the fine wheel. Stop only when the displayed bearing matches the recorded value.
Adjusting Barrel Elevation
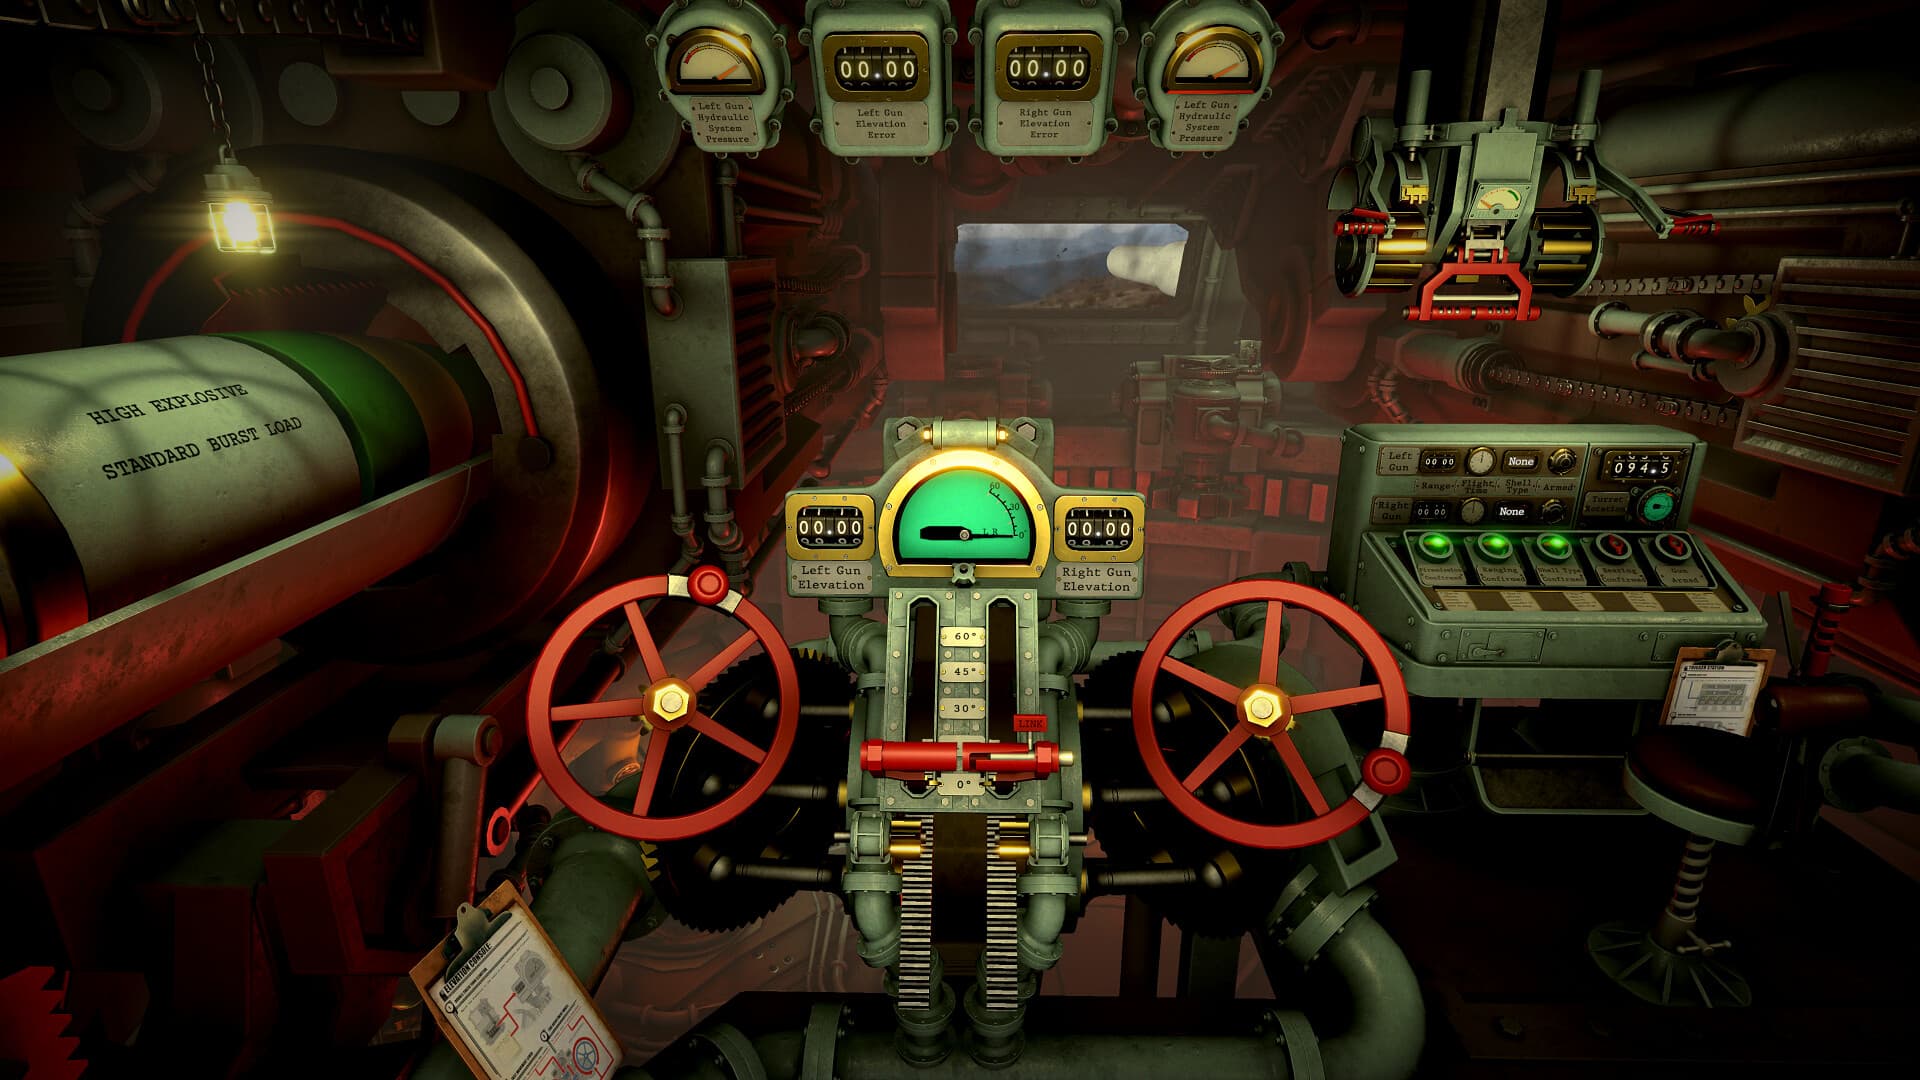
The two barrels have independent elevation controls. Wait until loading is complete, select the correct side, and turn its wheel until the displayed elevation matches the calculator.
Before firing, perform a final spoken or written check:
- correct target;
- correct shell;
- correct propellant count;
- correct turret bearing;
- correct barrel elevation;
- correct gun selected.
Only then operate the central firing control.
Ammunition Types
| Ammunition | Effect | Best use |
|---|---|---|
| HCHE | Largest explosive charge, about 0.63 km blast radius | Most enemy targets, underground targets, or two nearby targets |
| HE | Standard high explosive, about 0.27 km blast radius | Artillery, infantry, mechanized units, and other soft targets |
| AP | Penetrating core, about 0.14 km blast radius | Armored or underground objectives |
| S.T.A.R | Parachute illumination, about 12.74 km light radius | Reveal a broad target area at night |
| PHOSGENE GAS | Toxic choking cloud, about 1.85 km effect radius | Exposed infantry or ground formations; ineffective against armor |
| SMOKE | Long-lasting smoke, about 1.86 km coverage | Non-lethal screening; currently limited practical effect |
| TEAR GAS | Non-lethal CS irritant, about 1.86 km effect radius | Crowd control; currently limited practical effect |
Mission instructions take priority over general recommendations. If headquarters specifies AP, do not substitute HE merely because the target looks exposed.
Reconnaissance and Correction
Some missions provide incomplete observer reports. Combine their coordinates carefully instead of treating the first report as exact. When available, use the reconnaissance authorization card to request an overflight of the relevant grid.
After impact, read the photograph and war report. They may confirm a hit, reveal an offset, or show consequences that the original order did not mention. Correction is part of the artillery process, not proof that the first shot was wasted.
Common Beginner Mistakes
Measuring from the wrong origin
Why it fails: every later value is calculated for a different firing line.
Fix: confirm the turret marker before drawing the map arrow.
Rounding the range
Why it fails: the calculator expects the exact measurement, including decimals.
Fix: copy the displayed range before touching the calculator.
Changing charge without recalculating
Why it fails: elevation belongs to a specific range-and-charge pair.
Fix: turn the calculation crank again whenever charge count changes.
Aiming the wrong barrel
Why it fails: left and right elevation are independent.
Fix: check the side selector and the loaded shell before adjusting.
Firing before the verification pass
Why it fails: mechanical readiness does not prove the data is correct.
Fix: read all six final checks before operating the central switch.
Frequently Asked Questions
Does bearing go into the ballistic calculator?
No. Bearing turns the turret horizontally. The calculator uses range and propellant to determine vertical elevation.
Should I always use the maximum number of propellant bags?
No. Use a valid charge and its matching elevation. The first valid charge is a reliable beginner rule because it reduces needless recalc work.
Can the two guns fire different ammunition?
Yes. They can be loaded and elevated independently, which is useful when a mission contains different target types.
How do I know whether a shot hit?
Use observer messages, headquarters reports, news, and reconnaissance photographs. The game often communicates consequences through documents rather than a direct hit marker.
← Back to all guides