
IRON NEST Guide
A practical route through range finding, ballistic calculation, ammunition, loading, bearing, elevation, and firing.
Quick Start
Treat every mission as one verified chain: read the order, locate the target, measure from the correct origin, calculate elevation, load the specified shell and charge, then set both aiming axes.
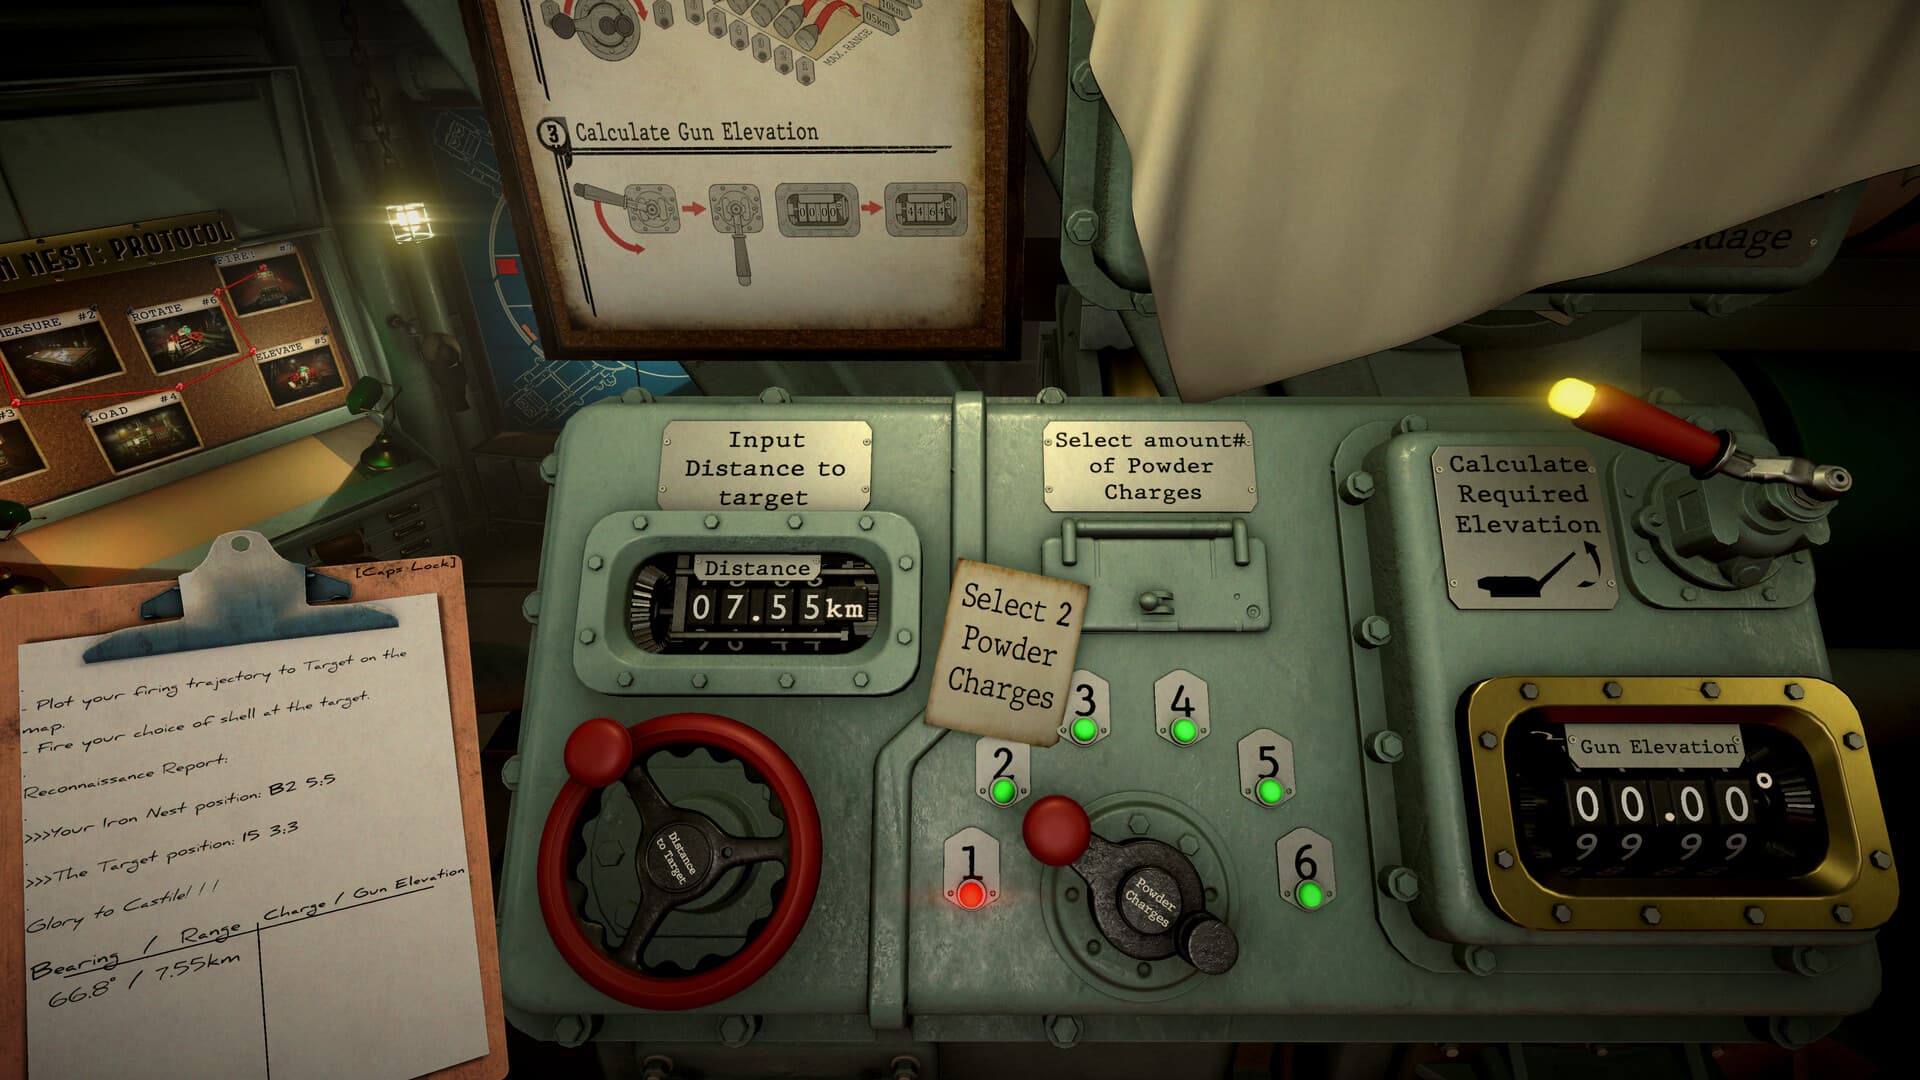
Main Guide Pages
IRON NEST Beginner Guide
Learn the complete heavy-turret firing workflow, from map measurement to impact confirmation.
Read guide →Ballistic Calculator
Turn exact target range and propellant choice into barrel elevation.
Read guide →Ammunition Guide
HE, HCHE, AP, illumination, smoke, tear gas, and phosgene.
Read guide →Turret Operation
Loading mechanisms, bearing controls, barrel selection, and firing.
Read guide →Mission Workflow
Orders, observers, reconnaissance photographs, correction, and results.
Read guide →World & Story
The failed assassination, surviving monarchies, and the Iron Nest Initiative.
Read guide →First Shot Checklist
Confirm the mission order
Confirm before moving to the next station.
Mark turret and target
Confirm before moving to the next station.
Record range and bearing
Confirm before moving to the next station.
Calculate charge and elevation
Confirm before moving to the next station.
Load shell and propellant
Confirm before moving to the next station.
Set bearing and elevation
Confirm before moving to the next station.
Verify every value before firing
Ready to fire.
Common Search Answers
What is the core gameplay loop?
Measure, calculate, load, aim, and fire. Every mission rearranges these same manual artillery tasks.
Do the two guns use separate settings?
Each barrel can be loaded and elevated independently, while the turret shares one bearing.
Which shell should beginners use?
Follow the order first. HE is the general soft-target shell; AP is intended for armored or underground targets.
Is this an official website?
No. This is an independent fan-made guide using publicly available game information and official promotional media.